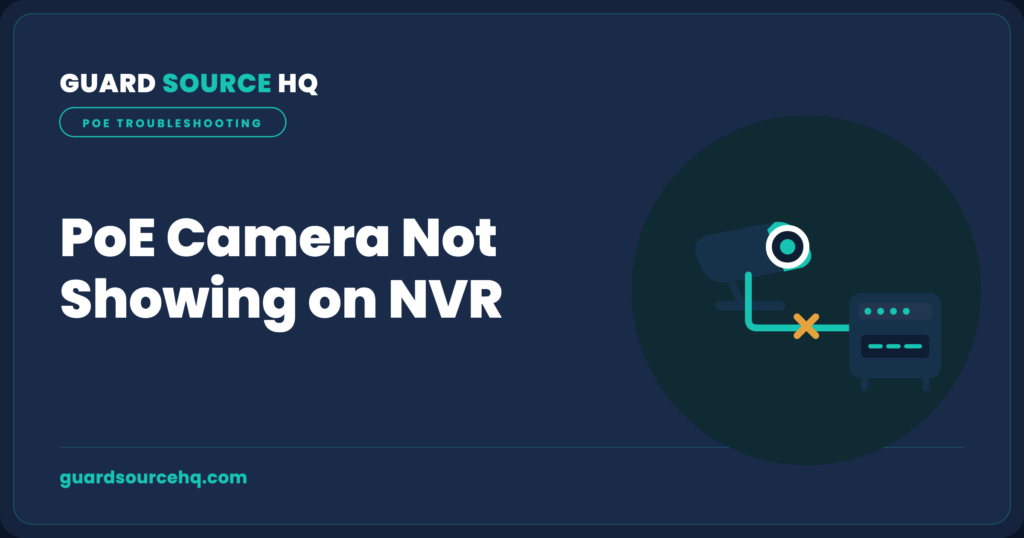
A PoE camera not showing up on NVR is one of the most common setup headaches: you ran the cable, plugged the camera into the NVR, and… nothing. A black box where the video feed should be, or a “Video Loss” message staring back at you. Before you assume the camera is dead and start a return, work through these seven fixes in order. Nine times out of ten the problem is power, the cable, or an IP address mismatch – not a broken camera.
First, Confirm the Camera Actually Has Power
Before touching any settings, find out whether the camera is even turning on. A PoE (Power over Ethernet) camera gets both its power and its data through the single Ethernet cable, so if power isn’t getting through, the camera is simply off – and an off camera will never show up on your NVR.
Here’s the trick installers use: go to the camera and cover the lens completely with your hand or a cardboard box to simulate total darkness. After about 5 to 10 seconds, you should hear a faint click and see a soft red glow from the infrared LEDs as the camera switches to night mode.
If you get the click and the glow, the camera has power – skip ahead to the cable and IP fixes. If you get nothing, the problem is power delivery, and the next two fixes are where you’ll find your answer.
Fix 1: Swap the Cable and the Port
This is the single most common culprit, so do it first. Roughly nine out of ten PoE failures trace back to a bad cable termination or moisture that’s crept into the RJ45 connector at the end of the cable.
Take the camera down and bring it to the NVR. Using a short, factory-made patch cable – ideally the one that came in the box – plug the camera directly into the NVR. If the camera springs to life on a three-foot cable but stayed dark on the long run to its mounting spot, your long cable is the problem. It’s either damaged, crimped incorrectly, or pushed past the maximum distance (PoE tops out around 328 feet per run).
While you’re at it, plug into a different port on the NVR to rule out one dead port.
Fix 2: Check Your NVR’s Power Budget
Every NVR can supply only so much total power across all its ports ‐ this is called the PoE budget. Cameras with spotlights, sirens, or pan-tilt-zoom motors draw a lot, and it’s easy to add a few power-hungry cameras and quietly exceed what your recorder can deliver. The newest camera you add is usually the one that goes dark.
To test it, unplug every other camera and leave only the problem camera connected. If it suddenly comes online by itself, your NVR’s power supply is stretched too thin for the full set. The fix is either swapping in lower-draw cameras or moving some cameras onto a separate PoE switch with its own power supply.
A PoE switch is a small box that powers and connects multiple cameras on its own, taking the load off your NVR. It’s one of the most useful upgrades for a growing system, and we’ll cover how to choose one in a dedicated guide.
Fix 3: The IP Address Conflict Nobody Warns You About
This is the one most people miss, and it’s sneaky. If you powered your cameras on while they were plugged into a regular network switch or router before connecting them to the NVR, two or more cameras may have grabbed the same default IP address. To the NVR, that looks like one camera flickering in and out – or several cameras refusing to appear at all.
Every camera needs its own unique IP address inside the same range as the NVR. The cleanest fix is to plug cameras into the NVR’s built-in PoE ports one at a time and let the NVR assign each one an address before adding the next. Most NVRs do this automatically when the camera is connected directly rather than through an outside switch.
If you’ve already created the conflict, reset the affected cameras to factory settings (there’s a small reset button – check your manual for how long to hold it), then re-add them one by one.
Fix 4: Don’t Delete and Re-Add Channels to “Fix” It
When a camera misbehaves, the instinct is to delete its channel and add it back fresh. Resist that urge. On many NVRs, deleting and re-adding cameras in the device registration menu causes new problems – duplicated channels or cameras that constantly drop offline – because the recorder had already bound that camera to a specific physical port.
If you need to reorganize which camera shows on which channel, the reliable method is physical: label each cable, then plug them into the back of the NVR in the order you want. Let the hardware do the mapping instead of fighting it in the menu.
Fix 5: Match the Subnet (When Using Wi-Fi or an External Switch)
If your camera connects over Wi-Fi or through a separate network switch rather than the NVR’s own ports, the two devices have to be on the same subnet – basically, the same neighborhood of IP addresses – to find each other. A mismatch here produces “connection failed” or “incorrect username or password” errors even when everything is physically plugged in correctly.
Restart your router, confirm both devices are on the same network, and temporarily disable any firewall to see if it’s blocking the connection. If the camera appears the moment the firewall is off, you’ve found your answer and can add an exception rather than leaving it off.
Fix 6: Update the Firmware on Both Devices
A camera and an NVR running mismatched firmware versions sometimes simply can’t talk to each other, even from the same brand. Manufacturers push updates specifically to fix these compatibility gaps. Check for firmware updates for both the NVR and the camera, apply them, then try adding the camera again. This is quick and worth doing before you conclude anything is broken.
Fix 7: Confirm the Password and Protocol
Newer cameras require you to set a password the first time they’re activated, and the NVR needs that exact password to pull the feed. If you’re seeing a username or password error on a camera you know is powered and connected, re-enter the credentials in the NVR’s camera settings. While you’re there, make sure the connection protocol matches – most systems default to a plug-and-play mode, but mixing brands occasionally means you need to select ONVIF, the universal standard that lets cameras and recorders from different makers work together.
Still Have a PoE Camera Not Showing Up on NVR? How to Know It’s the Camera
Work through all seven fixes and you’ve eliminated power, cabling, IP conflicts, subnet mismatches, firmware, and credentials. If a camera has confirmed power (you got the click and the IR glow), works on a short cable plugged straight into the NVR, has a unique IP, and still won’t produce an image – at that point it’s reasonable to treat the camera itself as faulty and pursue a warranty replacement.
The good news: by ruling everything else out first, you can describe exactly what you tested when you contact support, which gets you a replacement far faster than “it doesn’t work.”
A Quick Note on Building a System That Just Works
Most of these headaches come down to two things: marginal cabling and an underpowered or mismatched setup. If you’re still piecing your system together, choosing the right NVR and properly rated cable up front prevents the majority of the problems above.
Was this fix list helpful? The most common solution by far is Fix 1 (cable) or Fix 3 (IP conflict) – if you found yours, you just saved yourself a return and a week of waiting on a replacement.
How to Add a PoE Camera to an NVR the Right Way
If you’re setting up rather than troubleshooting, the cleanest path is to plug each camera straight into one of the NVR’s built-in PoE ports — the NVR powers it and adds the channel automatically, usually within a minute. If you’re adding a camera over your home network or through an external PoE switch instead, it won’t appear on its own: open the NVR’s channel-management menu, search for devices, select the camera, and enter its password. The single most common reason a manually added camera never shows up is that its IP address sits on a different subnet than the NVR, so set the camera to match before you start.
Only One Camera Shows Up (or Some, But Not All)
When some cameras appear but others don’t, the system itself is clearly working — so focus on what’s different about the missing ones. The usual culprits are a power-budget ceiling (the NVR runs out of watts once several cameras draw at once, especially with heaters or IR active), a duplicate IP address shared by two cameras, or a single bad cable or port. Swap the missing camera into a port you know works; if it appears there, the original port or cable is the problem. If it still won’t show, give it a unique IP on the NVR’s subnet and recheck the power budget.
Related guides: Planning a long cable run for that camera? See how far you can run a PoE camera. If the recorder keeps restarting, check why your NVR keeps rebooting.
Frequently Asked Questions
Why won’t my PoE camera show up on my NVR?
Most of the time it’s power, the cable, or an IP conflict — not a dead camera. Start by reseating the cable in a known-good PoE port, then check the NVR’s power budget and look for an IP address conflict.
How do I know if it’s the camera or the NVR?
Move the camera to a known-good PoE port, then test it on a separate PoE injector or switch. If it works elsewhere, the issue is the NVR or that port. If it fails everywhere, the camera itself is the likely culprit.
Can a bad Ethernet cable stop a PoE camera from connecting?
Yes — a marginal, damaged, or wrong-rated cable is the single most common cause. Swap in a known-good Cat5e or Cat6 patch cable to rule it out before troubleshooting anything else.
Why does my camera show “Video Loss” or a black screen?
The NVR sees the channel but isn’t getting a usable stream. That usually means power dropping under load, a cable fault, or a protocol/password mismatch between the camera and NVR.
Do I have to match the camera’s IP to the NVR’s subnet?
For cameras plugged into the NVR’s own PoE ports, this is handled automatically. For cameras running through an external switch or over Wi-Fi, yes — they must be on the same subnet as the NVR to appear.
Why is my NVR not detecting cameras?
When an NVR detects no cameras at all, the cause is usually power or network rather than the cameras. Check that the NVR’s PoE ports are live, that you haven’t exceeded its power budget, and that the cameras and NVR are on the same subnet. A faulty cable, a maxed-out power budget, or an IP conflict will all leave channels blank. Work through the seven fixes above in order to isolate which one it is.
How do I add a PoE camera to an NVR?
If the camera plugs into the NVR’s built-in PoE port, most systems add it automatically within a minute — just give it power and wait for the channel to populate. If you’re connecting over your network or an external PoE switch, open the NVR’s channel or camera-management menu, scan or search for devices, then add the camera and enter its password. Make sure the camera’s IP is on the same subnet as the NVR or it won’t appear in the search.
Why is my camera not showing up on my Reolink NVR?
The same rules apply to Reolink and other brands: confirm the camera has power, try a different cable and port, and check that it’s on the NVR’s subnet. With Reolink specifically, a firmware mismatch between camera and NVR is a common cause — update both to the latest version — and if you added the camera over Wi-Fi or an external switch, you may need to add it manually rather than expecting auto-detection.
Guard Source HQ is built on 30 years in the construction trades — real-world experience installing equipment, keeping systems running, and protecting them from the elements. Every guide here follows the same rule: practical, field-tested advice on security cameras and the networks behind them, without the scare tactics or the hard sell.
About the author
This guide was written and reviewed by the GuardSourceHQ Editorial Team. We research and hands-on test home-security gear so we can recommend only what we would use in our own homes. GuardSourceHQ helps homeowners choose, install, and troubleshoot security cameras and home networks.